 Firearm Parts
 Parallax Tactical FFSSR “Quad Rail”
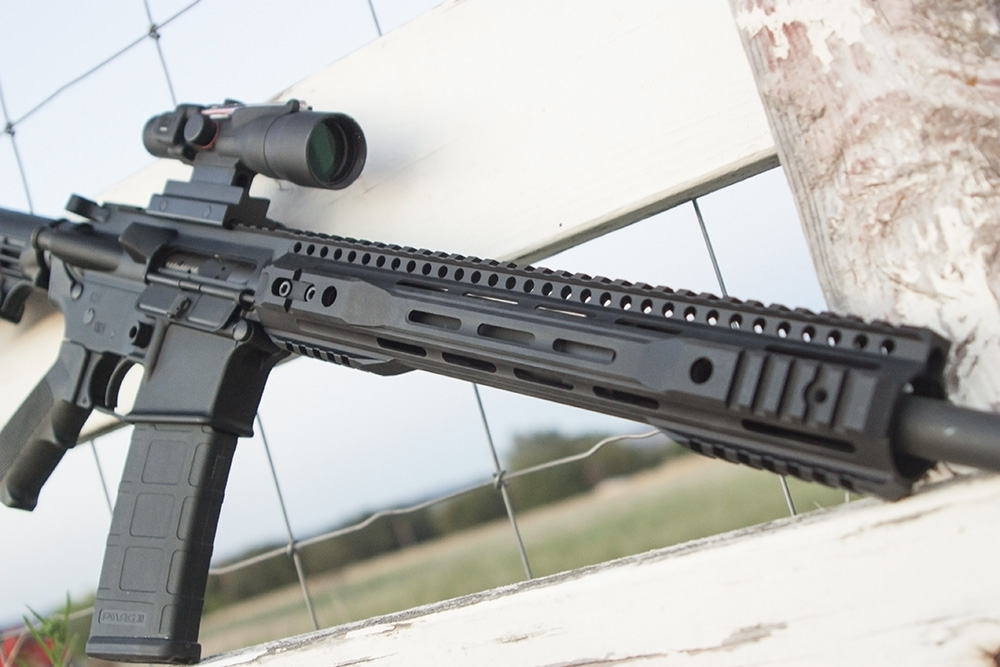
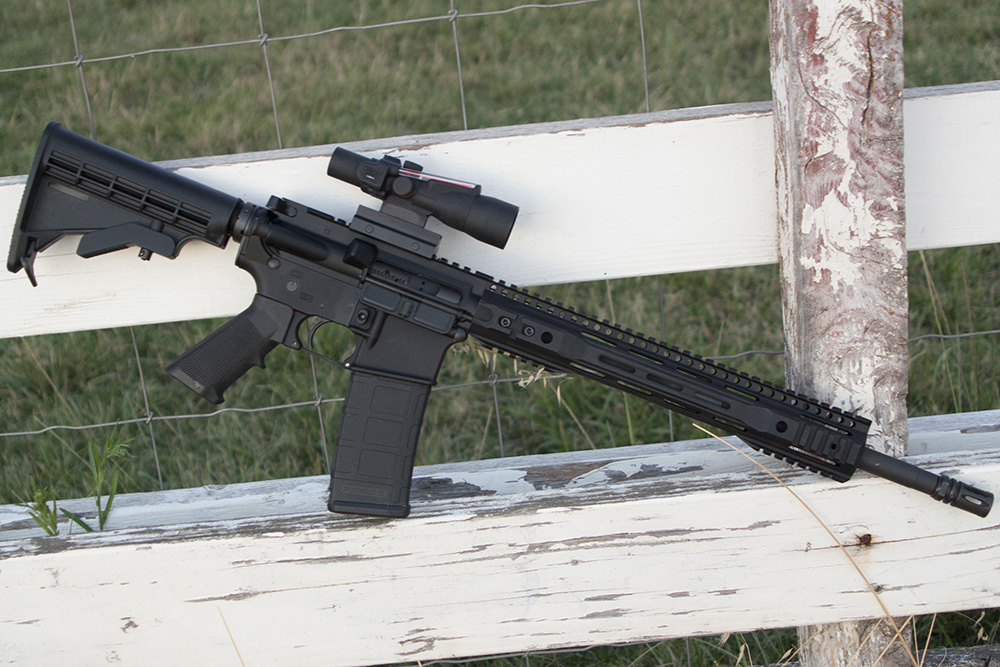
And now up for review, a not-so-typical quad rail: The Parallax Tactical FFSSR (‘Free Float Super Slim Rail”). This rail appears to have all the rails in the right spots for most people, is light weight, and is super rigid. But is it the best of all worlds? Read on to find out more.
First off, thanks to Parallax Tactical for sending me this rail to review. Good people over there! Okay, on to the review…..
If you’re one of those who doesn’t like the feel of a full quad rail in the hand but like the modular application, this just might be the perfect rail for you! It is 100% free floated, sports an integrated monolithic (gapless) rail all the way across the top, as well as integrated rails on the left, right and bottom, but with one caveat: It clears out the rails in the middle section rails on the left, right and bottom for an extremely comfortable hold. I’ll say this: This thing is REALLY skinny in the middle section. If the middle was without the holes for adding additional rail space, and I was blindfolded and handed the rifle, for a split second I might just think I was holding a bull-barreled rifle with no handguard. Maybe it’s because I’m used to a full quad rail, I dont know. But it felt that skinny. But I got used to it really fast and appreciated its’ smoothness around the middle….so much so that I find myself wishing my Spikes SAR rail felt this way.
 I suppose one could make an argument that missing that rail space limits the utility of the handguard, and it would be true had it not been for the holes cut out in the middle section on the sides and bottom for adding additional rails or accessories if you want them. Personally, I can’t really see the need for adding further rails to the sides…..maybe one underneath if that is where you like a vertical “gangster” grip or the like. But many people don’t roll with those these days, since the “operators” all tell you that you should stick your support arm straight out and grip the end of the rail. Me personally, I don’t prefer the straight arm…..to do so, I’d have to have an 18″ rail due to my long’ish arms; and I still like my Knights Armament vertical grip. But getting back to the rail, I would suggest that if you plan on doadding more rail space, you will be negating one of the main benefits of this rail, which is that skinny and smooth grip section that is SUPER comfortable.
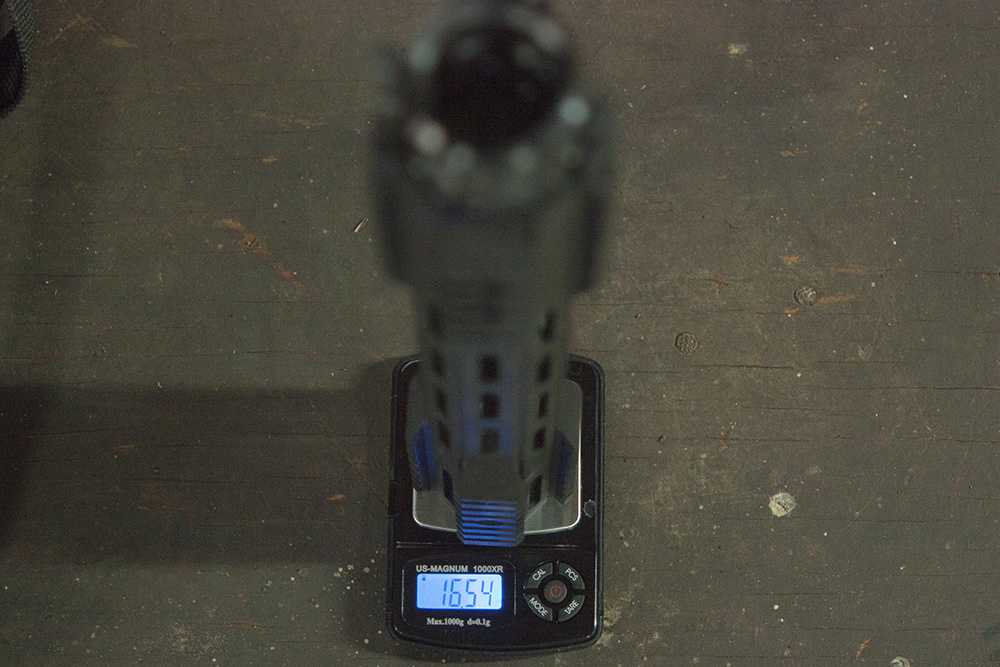
Weight is pretty good too, for a 13″ rail. Including all 6 screws, barrel nut and rail, it weighed in at 16.54 oz. Not the lightest rail in the world, but nothing to balk over for people who are not trying to move their gear into the “welter weight” category of AR-15’s.
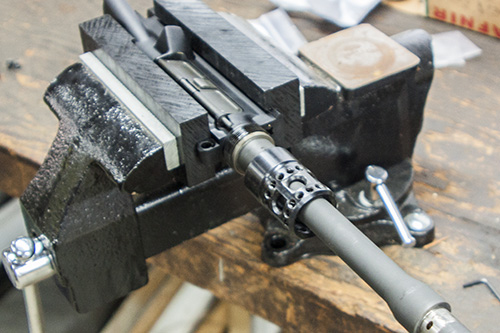
 Installation went as most free float installations go: If you have the tools and correct parts, it is a breeze. You need an armor’s wrench, allen wrenches, oversized crescent wrench (one that will go up to 2″ wide), helps to have some grease on hand, and most beneficial (but possibly not required?) is a vise and upper receiver action block. Chuck the upper up in the vise and viola! Rock-steady setup ready for install. One other VERY IMPORTANT thing I should mention at this point is that you will ABSOLUTELY NEED a very low-profile gas block. I’m talking REALLY low-profile. I first used a low-pro “clamp style” gas block and it did not fit. Oh yes, I was able to install the rail and have it appear to be “functional”, but soon after, I realized that the bottom of the gas block was touching the bottom of the rail, and this rail is stronger than the barrel when it comes to flex, so it caused the barrel to point upwards by probably 2 degrees…..that is all kinds of bad for accuracy, and potentially unsafe. I had to take it apart, order a set-screw gas block that had a lower profile on the bottom portion and use that instead. Clamping gas blocks are much stronger, but in this case I didn’t have a choice. Okay, on to install:
First step, remove muzzle device. Second step, remove gas block and gas tube (if you have a pinned gas block, you will need to punch those pins out….since I dont have an action block for my gas block, this is the most difficult part for me: I actually used my 20 ton press to pop out the pins instead of the hammer method this time). Third step, remove old handguard. Fourth step, use armorers wrench and take off the milspec “sprocket” barrel nut. That’s it….you’re ready to install the new handguard.
First step for installation: Thread on new barrel nut and cinch down with Crescent wrench (helps to add grease)….there are flat spots by the threaded holes that secure the rail.
FFSSR Barrel Nut Install
NOTE: This is probably the trickiest part….you’ll need to thread on and “time” the barrel nut so that one of the gas tube holes on the barrel nut lines up with the gas tube hole on the upper receiver.
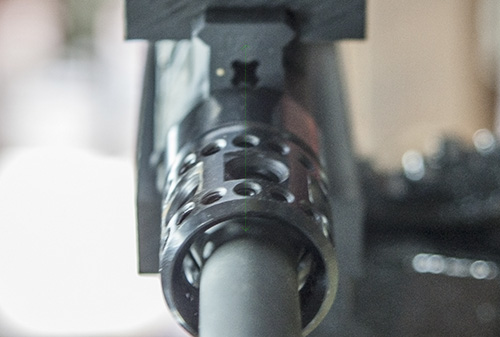
FFSSR Barrel Nut Alignment
If you’re nearly there, you can loosen and tighten, loosen and tighten until it lines up (this is where the grease helps), but if you’re too far away you wont want to force it…..rather, use one of the supplied thin metal rings to place in-between the upper receiver and barrel nut. Re-thread it in and check. If still to far away, use another (I was supplied with 3). I only needed 2. Once timed up, move on to step 2: Install gas block and gas tube.

FFSSR Install Gas Block
Step 3: Slide the rail over the barrel nut. It will slide over with only a little force. Then line up the rail with the upper receiver rail. Screw the 6 threaded screws into the proper spots into the threaded holes in the barrel nut. There are 4 large screws and 2 small screws: The two smaller screws go into the bottom. The did this so you could still use the rail space on the bottom section.
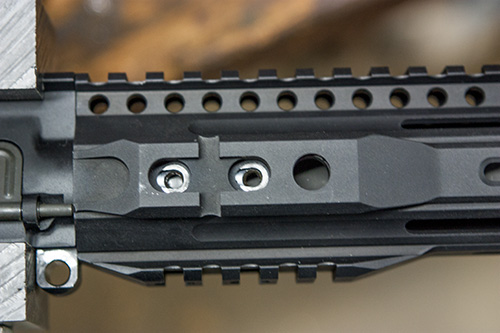
FFSSR Rail Alignment
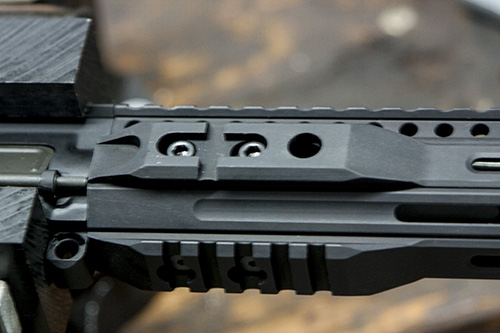
FFSSR Rail Screws
Step 5: Thread your muzzle device on and time it properly (if applicable). Voila! Your new rail is installed 
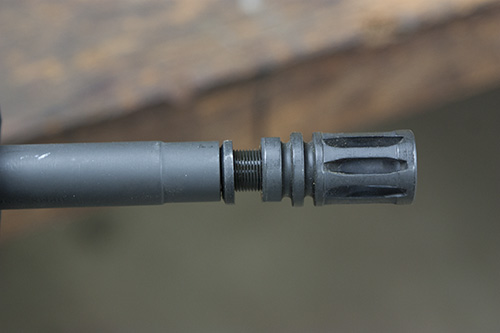
FFSSR Thread Muzzle
After installing the FFSSR, I did some rudimentary testing to see how rigid it is. I was surprised to find that I was not able to flex this thing. At All! It is stiff….REALLY stiff. That is an awesome “pro” as rails go. I put half the rifle on a table and the rail half hanging over the edge. I then pressed on the rail with my hand while holding the receiver to the table. No flex, no movement. Note that some rails don’t have adequate mounting or enough hold onto the barrel nut , or are so ultralight that there is play/movement/flex. Especially for those who use front iron sights that mount on the rail, having flex is a very bad thing as it will throw off your Point of Impact. That’s the thing about free floated rails: The benefit is that any movement doesn’t affect your barrel. But if using an rail mounted optic or rail mounted iron sight, that flex is not moving in tandem with the barrel.
When it comes to looks or appearance, beauty is in the eye of the beholder. I must admit that when I first saw it, I wasn’t 100% thrilled. Not because I thought the FFSSR was ugly, but I think mainly because I wasn’t used to the look of an upward indent in the bottom rail section…..it was just, different. But it grew on me, and when holding it, all those “How does it look?” thoughts went away. It feels right. It feels like a rail should feel. This particular rail was given lots of attention to details: Sharp edges rounded off, grooves and indents in specific places for pure aesthetics, 2 QD holes on both the left and right side of the rail, and other small holes about every 1.5″ on the rail sections for some other type of mounting option that I am not familiar with. But what really caught my eye was how fluid the design looks with the upper receiver. There are a LOT of rails that look way out of place on the standard upper receiver, but this one, in my opinion, is not one of them. It mates very well with the upper receiver and the rails are perfectly aligned and flat, as well as the sides of the rail. I also like how the bottom rail closest to the receiver is beveled upwards so that when you pull out the rear takedown pin of the upper, the bottom of the rail doesn’t scratch or hit the lower receiver. This is not the case with my Seeking Precision rail.
Performance wise on the FFSSR, you can rest the rail on either a bipod or some other rest, and it does not flex. It’s very comfortable to hold and pretty light weight. I would not have a problem with putting an iron sight out on the front of the rail….it will easily hold zero due to the lack of flex. There is no shortage of holes for the heat to dissipate, so if you’re worried about your barrel being unable to cool off, it won’t be an issue.
 All in all, I would not hesitate to use the FFSSR on my primary weapon. The more I hold it and use it, the more I like it. I think if you are trying get a super light-weight rifle, you might see this as too heavy. Mind you, the people who do these are buying magnesium rails and such and they are just ridiculously light (and expensive). The FFSSR is not heavy or even average, but it’s not an ultra-light either. If you want to lose a bit of utility to save some weight, you can opt for their PXTreme Keymod rail, which appears to be the same rail without the permanent side and bottom rails, along with keymod cutouts for modular furniture. This rail is claimed at 8.6 oz, which a total weight with barrel nut + screws of 12.1 oz……much more in line with most current “ultra-light” rails. It is also a 13″ rail. However, I am of the opinion that if you start taking too much material out of the rail to lighten it up, you are either making it too weak, or taking away from the utility of it. I think this rail has a great balance of being light-weight, but maintaining utility. The rail-less middle section makes for a very comfortable hold, while still giving you the option to add rails should you feel you need them. At the end of the day, I would recommend this rail to anyone outside of the welter-weight rifle division…..especially at a price of $199, which is better than most options at this level of quality. So, kudos to Parallax Tactical for an innovative approach to the “Quad Rail”……I look forward to seeing what other kinds of designs they can come up with!
If you’re interested in purchasing this rail, you may find it here:
http://parallaxtactical.com/collections/ar-15-forearms/products/parallax-tactical-gen2-13-free-float-super-slim-rail-ffssr